How To Outline A Book: 6 Simple Steps with Templates & Examples
You are halfway through writing your book when your mind goes completely blank. This could all have been prevented if you had taken certain precautions before starting the draft. None of this would happen if only you knew how to outline a book.
Writing a book can be intimidating, especially starting with a blank page. But having an outline before you start writing helps ensure your finished book meets expectations.
This article will provide you with steps on how to outline fiction and non-fiction books. There will also be examples and exercises at the end of each section to demonstrate how the steps work.
Check Out Our full guide: The Writing Process: 6 Steps With Tips, Examples, And Worksheets
Let’s Talk
Are you a writer aspiring to pen a masterpiece that never fails to captivate? Look no further. Reach out to us and uncover how we can help you to take your writing to unprecedented heights!

What is A Book Outline?
A book outline is a detailed description of what your book will cover. It usually includes a scene-by-scene description of events. A book outline helps organize your ideas and plot before writing your book. It helps you plan out your book’s structure, create characters, develop storylines, and determine what information or events should be included in each chapter or section of the book.
A book outline almost immediately follows the prewriting step. And it is possibly the last thing you work on before drafting your book.
Open any book of your choice and go to the contents page. You are probably looking at a page that once formed part of the author’s outline. Knowing how to outline a book means you know how to plan and organize your work.
Why Should You Outline Your Book?
Outlining your book helps ensure that you stay on track when writing. An outline will help keep the story cohesive and ensure you hit all important plot points, characters, settings, and events in order.
So, it helps you stay organized as it breaks down your entire book into smaller parts with notes on what needs to happen in each section. This invariably helps you stay focused and motivated as you work through the project.
Below are several other important reasons why you should outline your book:
- Outlines save you time, seeing as you write out each point fully instead of thinking about it.
- Outlines help structure your book.
- Outlines determine if your novel has enough conflict, stakes, etc.
- An outline forms part of your proposal when pitching to publishers and literary agents (non-fiction authors only).
- An outline helps with crafting a blurb that sells as it often draws from key highlights from the outline
- A good outline can show you gaps that still need to be investigated.
In short, not having an outline is simply doing yourself a disservice.
Guidelines For Writing A Book Outline
A book outline provides structure and direction for the creation of your book. It helps keep you on track as you write. A book outline can also help detect any potential problems or gaps in your narrative early on so that they can be addressed before too much time has been invested in completing the project.
Here are some guidelines to follow when creating outlines:
- Research should inform an outline, usually done in the prewriting stage.
- Don’t rush your outline.
- An outline should be as detailed as possible.
- A good outline is like a skeleton – it is the bare bones of your book, just waiting for you to expand it during the drafting stage.
- Write down your outline, even if you are confident you’ll remember everything.
How To Outline A Book In 6 Steps – Fiction
Outlining is even more important for fiction writers because it allows you to create believable worlds with characters with realistic motivations and arcs. But how do you go about creating an effective fiction-story outline?
You can follow these steps if you are outlining a work of fiction:
- Summarize your novel idea in one or two sentences.
- Build your characters.
- Pick a setting.
- Create conflict.
- Plot your novel.
- Design a detailed scene-by-scene description.
#1. Summarize Your Novel Idea
It’s easy to create a book idea that’s so broad, it ends up confusing your readers. That’s why you need something short and quick to anchor you as you write and plot. A one to three-sentence summary of your story is an ideal anchor.
Can you explain your story idea to a random stranger who only has less than thirty seconds to listen to you? If the answer is yes, congratulations, you understand where you are going enough to create an outline. If not, you may need to return to the drawing board.
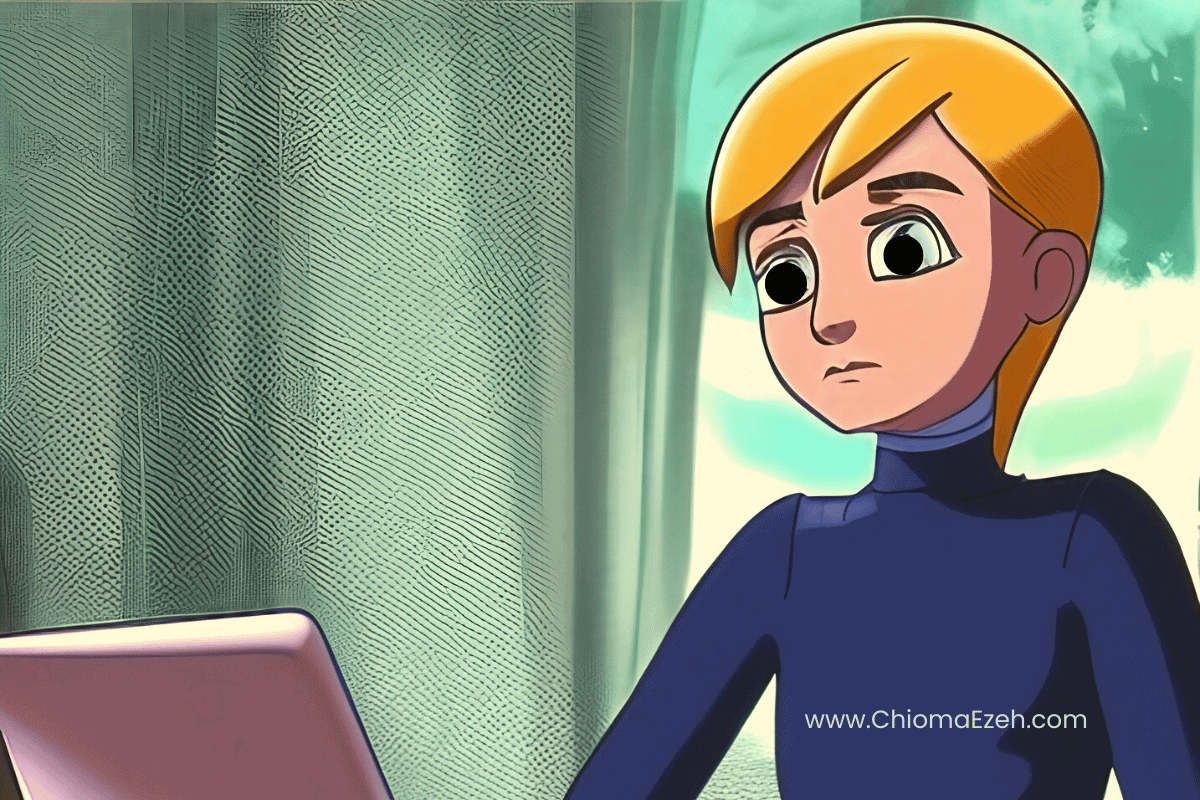
Our example for this post will center on a fictitious character, Emma who needs to get her royalties, or else, she will be unable to pay back her loan
A good summary should contain the following elements:
- Who: who are the main characters?
- What: what should the main character do / what do they want to achieve?
- Otherwise: what will happen if they don’t get what they want?
Consider the following example:
- Who: Emma.
- What: Emma needs to get her royalties from her publisher.
- Otherwise: She won’t be able to repay the money she owes a vicious loan shark.
Our summary might look something like this:
Emma needs to get her royalties from her publishers so she can pay back the vicious loan shark she owes money.
This summary will serve as your beacon so you don’t wander from the main story. You will know it’s time to reconsider when your story scenes are not actively building toward what you stated in the summary. Writers who neglect this step might find their story ending (resolution) has nothing to do with the background they established in the opening scenes.
Pro Tips
If you are struggling with creating a summary, it probably means your idea is not as solid as you thought. It might be time to go back to the prewriting stage of the writing process. Pay close attention to how you formulate your summary. Those few sentences will eventually become your pitch when you approach publishers and literary agents.
Creating a short summary of your story not only helps you stay anchored to your main idea. It will also be your opening when it’s time to get your book into the world.
#2. Build Your Main Characters
There’s no story without characters. That’s why your main characters should be defined early on. Other characters can be added as you go.

Be as detailed as you can be when drawing up your characters. You need to establish your character’s personality, goals, and ambitions before anything else. Knowing these details will help you anticipate what your character might do in a certain situation. This can directly help you build a better outline.
A good character description contains the following elements:
- Personality: how does the character usually act, feel, and think?
- Role: what does the character do in the story?
- Anything else: you can also include other information, such as physical appearance, history, etc.
Consider the following for Emma:
- Personality: suspicious, paranoid, and anxious.
- Role: Emma investigates why she has not yet received her royalties.
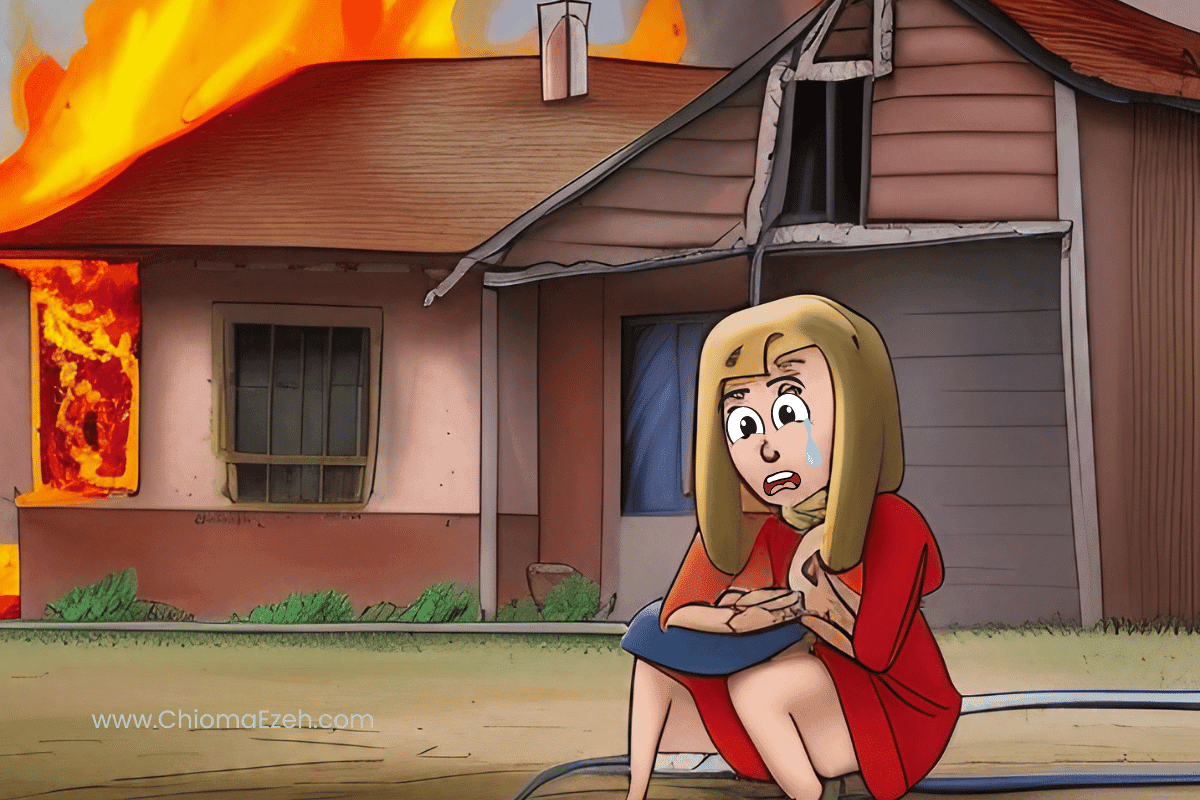
- Anything else: she had to borrow money from a loan shark to purchase a new home after her house burned down.
Emma’s character description might resemble the following:
Emma is an anxious author who borrowed money from a loan shark to buy a new home after her house was destroyed in a fire. She was confident she could pay him back after the royalties for her best selling-book arrived.
A description gives you an idea of what a character might do. Not having a description means your character might end up doing things that don’t make sense. For instance, your character might have a sense of humor in one chapter, and then not be able to make a single joke in another chapter. This might confuse readers.
Pro Tips
Try to come up with different personalities for your characters. The last thing readers want is to read a story where everyone is a rigid and formal academic. Some authors base their characters on people they know in their real lives to make things easier. Others use online character generators. Whichever method you use, just make sure you create a solid character before starting your outline.
#3. Pick A Setting
Your story needs to be set somewhere, both in terms of location and mood. The setting usually refers to the various locations within a story. While a setting might have various elements, the most important ones are time period, and place.

Here is the setting for Emma’s story:
- Time period: the story is set in late 2021 as the world recovers from the effects of the lockdown.
- Place: Manhattan and New York City.
The setting is all about establishing consistency. Not establishing a setting beforehand means your story might end up having unlikely scenarios.
For instance, your character might meet someone at the beach, only for readers to later find out the scene was set in a landlocked country. Or your story might end up having 12th-century people driving cars.
Pro Tips
Think carefully about the setting. You want to establish a time period where your story makes sense, and you need a location that adds emphasis to the tale. The setting also needs to match the story. For instance, stories about financial crime are more suited to New York than to a place like Jerusalem.
#4. Create Conflict
A fiction story without drama is boring. The official name for drama in writing is conflict.
Random events cannot just happen to your character from scene to scene. Most people don’t want to read about your character doing ordinary everyday things. There needs to be a force threatening your character. The force, also known as an antagonist can either be internal or external.
External forces are other people or entities your character needs to face. While internal forces are mostly about your character. This can be decisions they need to make.

Conflict can be split into main conflict and sub-conflict. You can have more than one sub-conflict. That said, too many sub-conflicts might end up overshadowing the main conflict. Here’s what that would look like for Emma’s story:
- Main conflict: Emma’s royalties are being delayed.
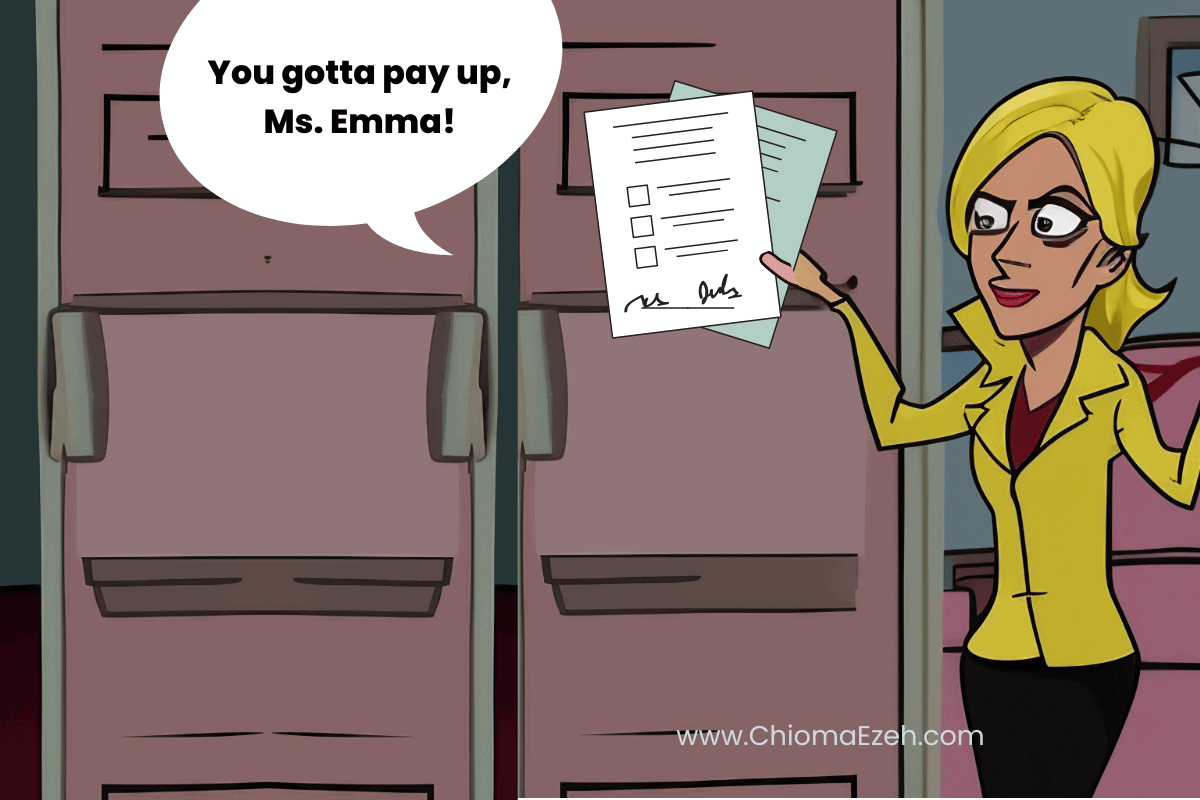
- Sub-conflict 1: The loan shark has started making threats if she doesn’t pay back the money.
- Sub-conflict 2: Emma’s son is sick and might need a costly medical procedure.
Conflict is the whole reason most people pick up a book. A story without conflict is no story at all. It’s just a list of random events happening to some random person.
Pro Tips
Here are some questions to help you create conflict. They are similar to the elements of summarizing your story covered in step 1:
- What does my character want?
- What is stopping them from getting it?
- What bad thing will happen if they don’t get what they want?
#5. Plot Your Novel
You now have a summary, character description, setting, and conflict. It’s now time to start working toward the actual outline. Plotting is the last step before you get there.
Most stories follow a certain narrative structure. This is also known as a plot. This turns random events into parts of a story readers care about.
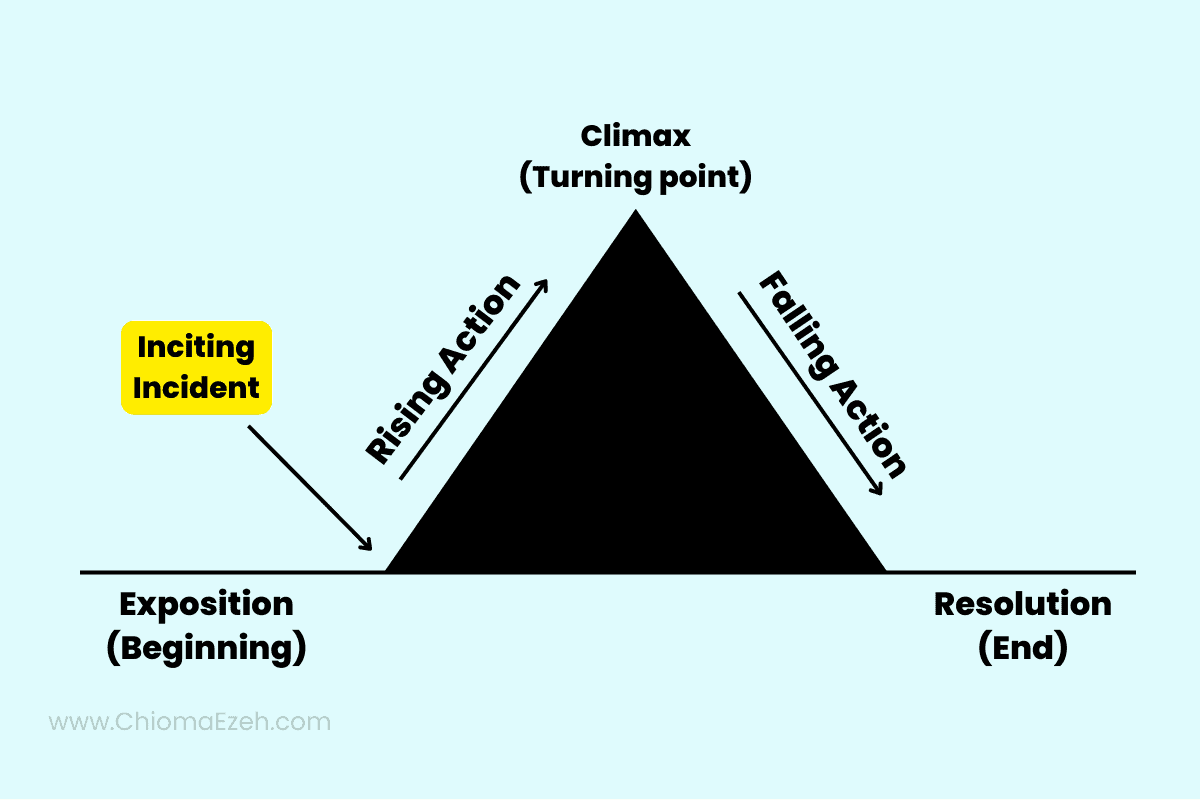
The seven elements of plot are:
- Exposition: this is the part where you introduce readers to the characters and setting.
- Inciting incident: something that requires action occurs.
- Rising action: your character starts to respond to the inciting incident.
- Crisis: an unexpected event that disrupts whatever solution your character thought they had during the rising action.
- Climax: this is the high point of the story.
- Falling action: the story slows down as problems are solved.
- Resolution: the story ends.
Here are the plot elements for Emma’s story:
Exposition: Emma moves into her new house purchased with money from the loan shark.
Inciting incident: she takes her son to the hospital on the same day the loan shark reminds her to pay back the money.
Rising action: Emma checks her book sales and realizes she will have enough money to pay her debts and pay for her son’s procedure.
Crisis: the royalties don’t arrive, and Emma’s publisher tells her the money was sent out weeks ago. The loan shark gives her a deadline, and her son becomes even worse.
Climax: Emma finally finds her cheque, which had been sent to her neighbor by mistake.
Falling action: Emma pays her debts and doctors start operating on her son.
Resolution: Emma’s son wakes up, and the loan shark is arrested, leading to Emma getting back all her money.
Every single one of the seven elements is essential. Each element creates drama and tension that keeps your readers hooked. Skipping this step will make pacing your story extremely difficult.
Tips
Don’t rush this step. It is one of the most important stages of the process.
The seven elements of the plot can serve as a guide when you start outlining in the next step.
#6. Build Scenes
You now have everything in place. Creating detailed scenes is the last step of the outlining process. You can use the seven elements of plot from the previous step to create overall headings for various scenes.

Scene building helps to bring the story to life and creates a vivid picture in your audience mind. You should craft good scenes with care and attention to detail so that it helps draw the readers in and keep them engaged.

Scene building also helps to create suspense, tension, and atmosphere in order to increase emotional impact. How well you build your scenes will greatly impact how easy it is for your readers to follow along with the plot.
That said, scenes help a story to become more memorable and effective. And it makes it easier for the reader to visualize and imagine what is happening in the story.
Here is what scenes under the first two elements might look like for Emma’s story:
Exposition:
- Emma and her son move into the new house, admiring its rooms.
- Emma asks her son if he is fine when he starts coughing. He assures her it’s just a cold.
- She calls the loan shark to thank him and promises to pay him back when she receives her royalties.
Inciting incident:
- Emma’s son coughs and collapses.
- On her way to the hospital, the loan shark calls. He reminds her he wants his money soon.
Avoiding this step will make things harder for you, as the author. These detailed scenes can be your best friend when writer’s block strikes.
Tips
When drawing up your scenes:
- Make sure they fit into each of the seven elements.
- Try not to wander from the main idea defined in your summary from step 1.
- Be careful with your pacing – EG your exposition cannot be too long.
Book Structure Format Example: Fiction-Writing
When writing fiction, you should have a clear book structure format in mind so that your story can flow naturally and you don’t leave any loose ends. Here is a full outline for Emma’s story:
Exposition:
- Emma and her son move into the new house, admiring its rooms.
- Emma asks her son if he is fine when he starts coughing. He assures her it’s just a cold.
- She calls the loan shark to thank him and promises to pay him back when she receives her royalties.
Inciting incident:
- Emma’s son coughs and collapses.
- On her way to the hospital, the loan shark calls. He reminds her he wants his money soon.
- The doctors tell her the boy has a serious illness, and the cost of the procedure to treat him is extremely high.
Rising action:
- Emma goes home in tears, worried about all the money she has to pay out.
- She is relieved when she reads her sales statements and finds out she has sold more than enough books to cover all costs.
Crisis:
- At the hospital, the doctor tells Emma the procedure needs to start in 24 hours, or her son dies.
- The loan shark calls, informing her he wants his money tonight.
- When she calls the publisher to ask when she is getting paid, the editor is surprised, since he sent her a cheque weeks ago.
Climax:
- Emma is in tears as she starts dragging her furniture to the car so she can sell it.
- One of her neighbors comes over and gives her an envelope he hadn’t realized had gone to his mailbox. It turns out to be the cheque.
Falling action:
- Emma makes an electronic transaction with the loan shark while sitting at the hospital.
- The doctor tells her they are about to start operating.
- She cries in relief.
Resolution:
- Emma is at her son’s bedside when he wakes up.
- The police arrive and asked to talk to her outside.
- The police tell her the loan shark had been using money from criminal activities to sponsor his business. He has been arrested, and everyone who had sent the loan shark money is having all transactions reversed. Which means Emma is getting back her money.
Fiction Book Outline Activity & Worksheets
Think about your favorite fiction book. Make sure you don’t have it in front of you. Do the following:
- Summarize the book in one sentence.
- Write a one-paragraph description of the main character.
- What is the setting of the book?
- List down at least one main conflict and one sub-conflict.
- Try to write down the book’s plot in bullet form using the seven elements of plot we discussed.
- Now create an outline for your own story using the steps discussed in this section.
How To Outline A Book In 4 Steps – Non-Fiction
A detailed outline is not optional for non-fiction writing. If you intend on releasing your book through a publisher, the editor will probably ask to see your outline before you start writing.
Here are the steps for outlining a non-fiction book:
- Come up with a preliminary title.
- Decide your book’s structure.
- Decide on the main points to address.
- Create sub-points.
#1. Choose A Title
What is your book all about? This is a question every writer should ask before putting paper to pen. A good and informative title can help you answer this question.
There are always different aspects to everything. Many unfocused writers end up getting lost in these side details. In the end, they might have a 1,000-page book that doesn’t address what they wanted to address in the first place. A good title will always anchor you.
Here are guidelines for coming up with a title:
- Ask yourself the problem you are trying to solve – this should be part of the title.
- Who is the target audience – your potential readers should be able to tell the book is written for them just by looking at the title.
- What kind of book is it – is it history, guide, manual, etc.?
Let’s say we are writing a book that introduces book authors to SEO (search engine optimization). Here is how we might come up with a good preliminary title:
- What problem are we trying to solve: we want to teach book authors, most of whom know nothing of web content creation, about SEO.
- Target audience: book authors.
- What kind of a book is it: instructional guide.
In the end, our title might be:
“SEO Basics For Authors – A Quick Guide To Getting Your Name On The Web.”
Not having a title might make it hard to focus on addressing the issue at hand. For instance, without the above title, we might end up forgetting the book is for beginners. As a result, we might start including advanced SEO techniques that will confuse readers.
Please see our full guide on: How To Title A Book That Sells
Pro Tips
Please remember that your publisher will probably change your title into something more marketable. The purpose of this preliminary title is simply to anchor your writing. So don’t be concerned if the title sounds too awkward or it’s too long.
#2. Decide Your Book Structure
The structure of your book will determine how you outline it. That’s why this is one of the first things you need to define. There are several book structures. A programming guide and a historical biography of Nelson Mandela are not going to be written the same way. The four major book writing structures are:
- Narratives: these are books such as histories, biographies, memoirs, etc., which tell a non-fiction story.
- How-tos: these are books that give the reader specific steps on doing something.
- Lists: list books dissect various elements within a list.
- Essay books: these are books that are meant to inform or persuade readers of something, EG theology books.
Our SEO book is a how-to. This means you will need to develop a number of steps, and then expand upon those steps throughout the book. You cannot skip this step unless you want to struggle with outlining your book.
Pro Tips
If you are unable to pick a structure, maybe it’s time to go back to step 1. Ask yourself what you are hoping to achieve with the book and the problem you are trying to solve.
#3. Decide On Main points
You have a working title and you’ve decided how you are going to write your book. It’s now time to start outlining.
You now need to pick the main points your book is going to address. Each point is going to become a chapter in your book. Every single one of your main points should be something your reader wants to know. If they don’t need to know it, throw it out.
These are the main points for our book on SEO:
- The history of SEO
- Why do authors need to learn SEO
- Search intent
- Using keywords in text
- SEO tools
- A brief introduction to other web content techniques and tools
Your main points will also be your chapters in most cases. Put another way, there’s no outline without a list of main points.
Pro Tips
Many readers skim a book’s table of contents before deciding if they want to read it. That’s why your main points/chapters have to be something useful to the reader. If you are failing to create the main points, it’s probably time to go back to the prewriting stage and reread your research.
#4. Create Sub points
You already have the skeleton of your outline, thanks to your main points. It’s now time to decide what you will discuss in the book. The sub-points are various issues you want to tackle in each chapter. Write down each chapter, and note the points you want to discuss under it.
Here is an example of sub-points for the chapter on SEO tools:
- The history of SEO
- Why do authors need to learn SEO
- Search intent
- Using keywords in text
- SEO tools
- Introduction to SEO tools
- How to find the best SEO tool for your needs
- Yoast SEO.
- Surfer SEO.
- AHREFS SEO.
- Conclusion.
- A brief introduction to other web content techniques and tools
Pro Tips
Make sure each sub-point matches the main points. If you have too many sub-points that don’t match, it might be time to go back to the previous step and create a new point. You can conclude with a general chapter called something like “Other SEO matters,” for important information that doesn’t match any of your main points.
Book Structure Template Format For Non-Fiction
Here is an example of a non-fiction book outline:
Title: How To Lose Weight
Chapter 1, Introduction:
- Who was the book written for?
- What does the book cover?
- What does the book not cover?
Chapter 2, Diet:
- Introduction
- An overview of food groups
- Popular diets that don’t work
- Healthy diets that work
- Warnings
- Conclusion
Chapter 3, Exercise:
- Introduction
- Misconceptions about exercising
- Best exercises for weight loss
- Warnings
- Conclusion
Conclusion
Non-Fiction Book Outline Activity & Worksheets
Do the following for your favorite book without looking at it:
- Create alternative titles for the book.
- What structure do you think was used for the book? Explain why.
- Try to create your own sub-points for one of the book’s chapters.
- Create an outline for the SEO book example we used in this section.
- Use the steps discussed in this guide to create an outline for your own non-fiction book.
Tips For Writing A Helpful Book Outline
Keep the following in mind:
- A bad outline usually means the prewriting stage was not properly done.
- The outline stage is your last chance to fix your ideas before you start writing.
- It’s okay to add and remove items from your outline.
- You can create more than one outline before choosing one, if you want to.
- Reach out to colleagues and knowledgeable people to get their thoughts on your outline before you start writing.
- The outline can be used to pitch publishers before you start writing – in fact, publishers and literary agents prefer you send them a proposal before you put pen to paper.
FAQs On How To Outline A Book
Is An Outline Compulsory?
This depends on whether you are writing fiction or non-fiction. For fiction authors, an outline is recommended but not compulsory. Some authors struggle to write quality pros if they have too many details about coming events. If you are one of those authors, define events in your book using the seven elements of plot at the very least. It can just be a sentence for each element.
Outlines are compulsory for non-fiction authors. You need an outline to see if your material is extensive and good enough for a book. In addition, publishers prefer seeing a proposal that includes an outline before they request the actual manuscript.
How Detailed Does A Book Outline Have To Be?
This is up to you. The more details an outline has, the better. Again, this is only flexible for fiction authors. The outline non-fiction authors send to a publisher has to be extremely detailed. It should be detailed enough to give the acquisitions editor an idea of the type of content you’ll include in your book.
Can I Make Changes To The Outline Later On?
You can always come back and make changes to your outline. Just remember to go over the entire outline to make sure your new changes don’t cause contradictions. The ability to view an outline of the entire manuscript as you make changes is one of the best features of outlining.
Final Words On How to outline a book
A good book outline is like a detailed framework/template. All you have to do is fill it in, and boom, you have a book. Following the steps provided in this guide can help you create a useful book outline.


![How Does Dialogue Affect A Story? [Here’s how]](https://chiomaezeh.com/wp-content/uploads/2023/03/how-does-dialogue-affect-a-story-768x512.jpg)