How To Write A Story Outline In 6 Steps [Simple Visual Guide]
As an experienced writer, I often encourage aspiring authors to create a novel outline. It’s a simple and flexible technique that helps to keep your story on track and makes writing the first draft easier.
There are different ways of outlining a story but this one is good if you like to see how everything fits together. It’s like having a big board with lots of notes, but much easier to use.
Learning how to write a story outline doesn’t have to be complicated or time-consuming. Unlike most other outlining methods, this simple visual method is easy to follow along and modify if you decide to change direction.
So without further ado, let’s get started.
Why Is A Story Outline Important?
A story outline is important because it helps authors structure their thoughts and ideas in a logical manner, ensuring that all key components of their story or message are included. It also helps to keep the writing organized and on track.
When creating an outline, consider key ideas you want to include, what order these ideas should be presented in, and what information needs to be included for each. An outline can also help you create a timeline of events or milestones within your story or message, which will help you know when it’s time to move on to the next section.
Here are 10 reasons having a book outline is important:
- It prevents you from getting lost in your writing
- An outline helps you write faster
- It helps guide the structure and order of your story
- An outline ensures important points are not left out
- Having a book outline will prevent writer’s block
- It encourages creativity by making connections between ideas
- An outline provides a timeline for milestones or events within the book
- It can be used to troubleshoot problems or inconsistencies
- It helps authors stay focused and organized as they write
- It serves as a reference point when revising the manuscript before editing.
An effective story outline is a crucial step in the writing process. It helps save you time and makes sure your book is the best it can be.
While these are 10 reasons why a story outline is important, there may be additional reasons that are specific to your writing goals. I know, as Pantsers, it can be difficult to plan and outline your story, but I think you’ll find that the benefits of having an outline far outweigh any discomfort you may have initially.
On the other hand, for plotters like me, this is where the fun begins! So, whatever your writing style may be, I recommend creating an outline before you start writing your first draft.
Let’s Talk
Are you a writer aspiring to pen a masterpiece that never fails to captivate? Look no further. Reach out to us and uncover how we can help you to take your writing to unprecedented heights!

How to Outline A Story
There are several methods to outline your story, including the three-act structure, Hero’s journey, but here’s a simple visual guide that is easy to understand and follow.
1. Summarize Your Story.
Start by writing a summary of your story. This is the Synopsis. A synopsis is a brief summary of your story, including the beginning, middle, and end. Think of it as an elevator pitch that summarizes what your story is about. The aim of the synopsis in outlining your story is to let you know where your story begins, how it progresses, and what the ending will be.
It could be in one sentence like below:
“Anabella, an adventurous young woman, embarks on a quest to find a legendary relic with untold power and ultimately succeeds in unlocking its strength to make a positive difference in her community.”
Or several sentences long like this:
“Anabella is an adventurous young woman who sets out on a quest to uncover an ancient relic. After days of searching and braving numerous dangers, she finds the entrance to a hidden cave and discovers the relic inside. But before Anabella can take it for herself, she must fight off a fierce enemy who wants to steal it away. In the end, Anabella emerges victorious with her prize in hand. With newfound strength from possessing the relic, Anabella uses her power for good by helping those in need and protecting the innocent. Her story serves as an inspiring reminder that anyone can accomplish great things if they are brave enough to take on a challenge.”
No matter the length, make sure your synopsis is concise and captures the essence of your story. A synopsis is incredibly helpful when you start outlining your story as it will provide you with a guide and vision as to what you want your story to be.
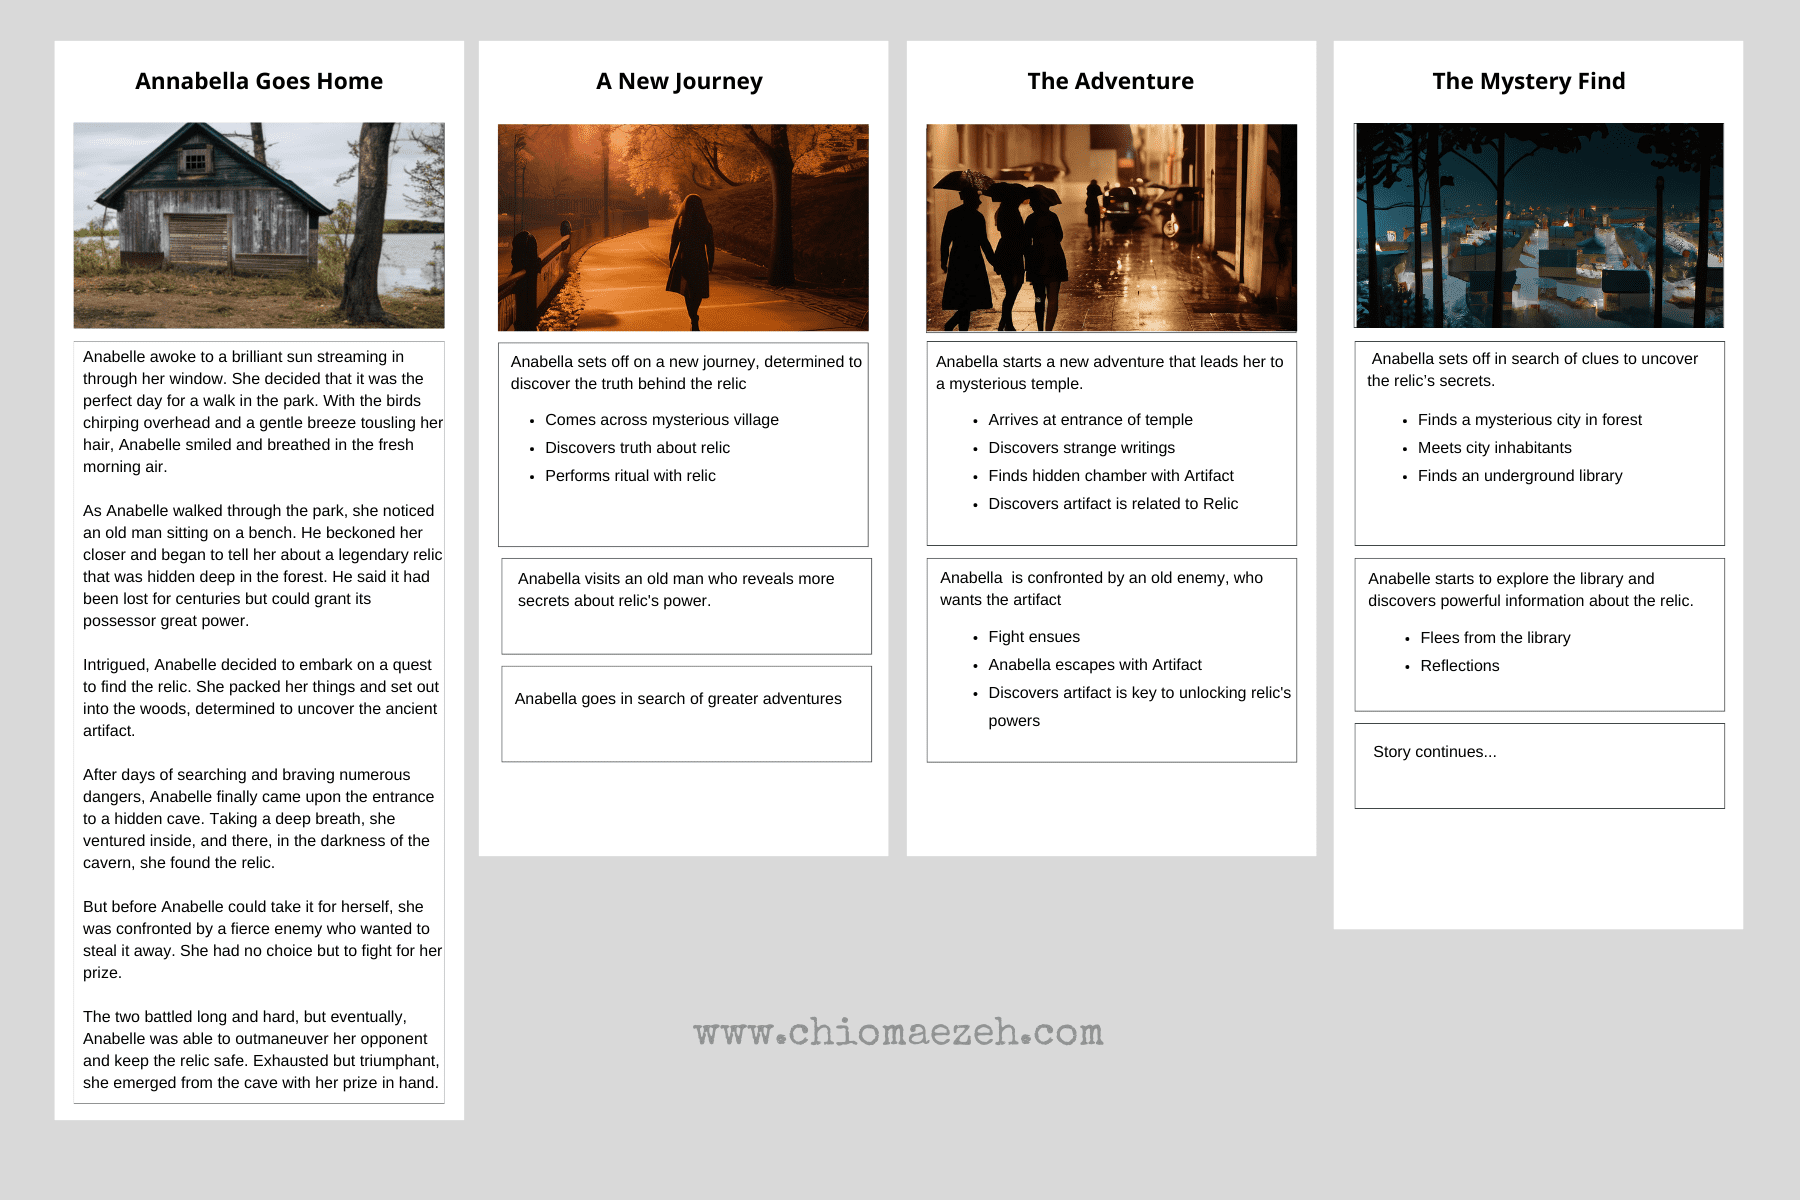
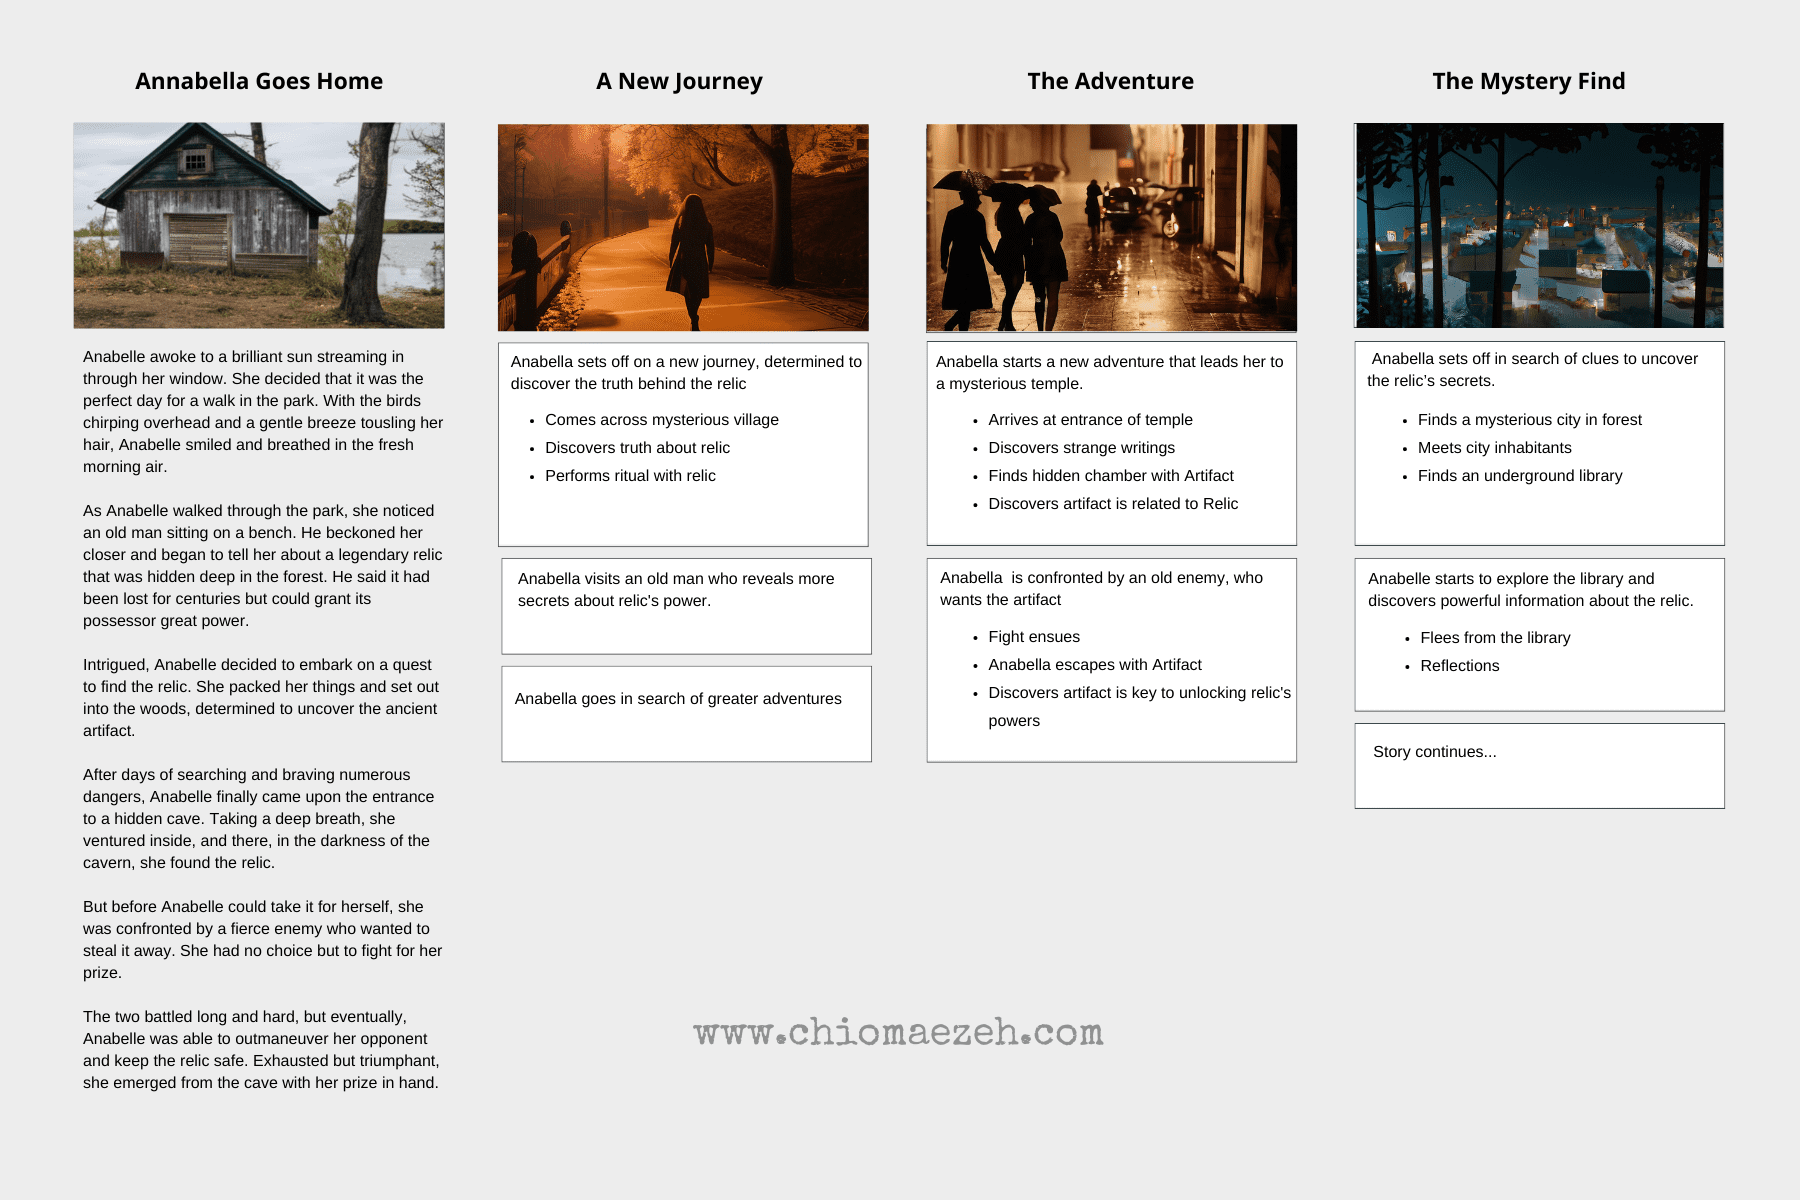
2. Lay out the chapters of your story.
Begin by listing out all the possible chapters of your story. This should be a rough list that outlines the major events and plot points of your story.
Note that this is not necessarily the same as your book’s final chapter sequence, but rather a way for you to organize individual scenes that will eventually form the bigger picture of your story.
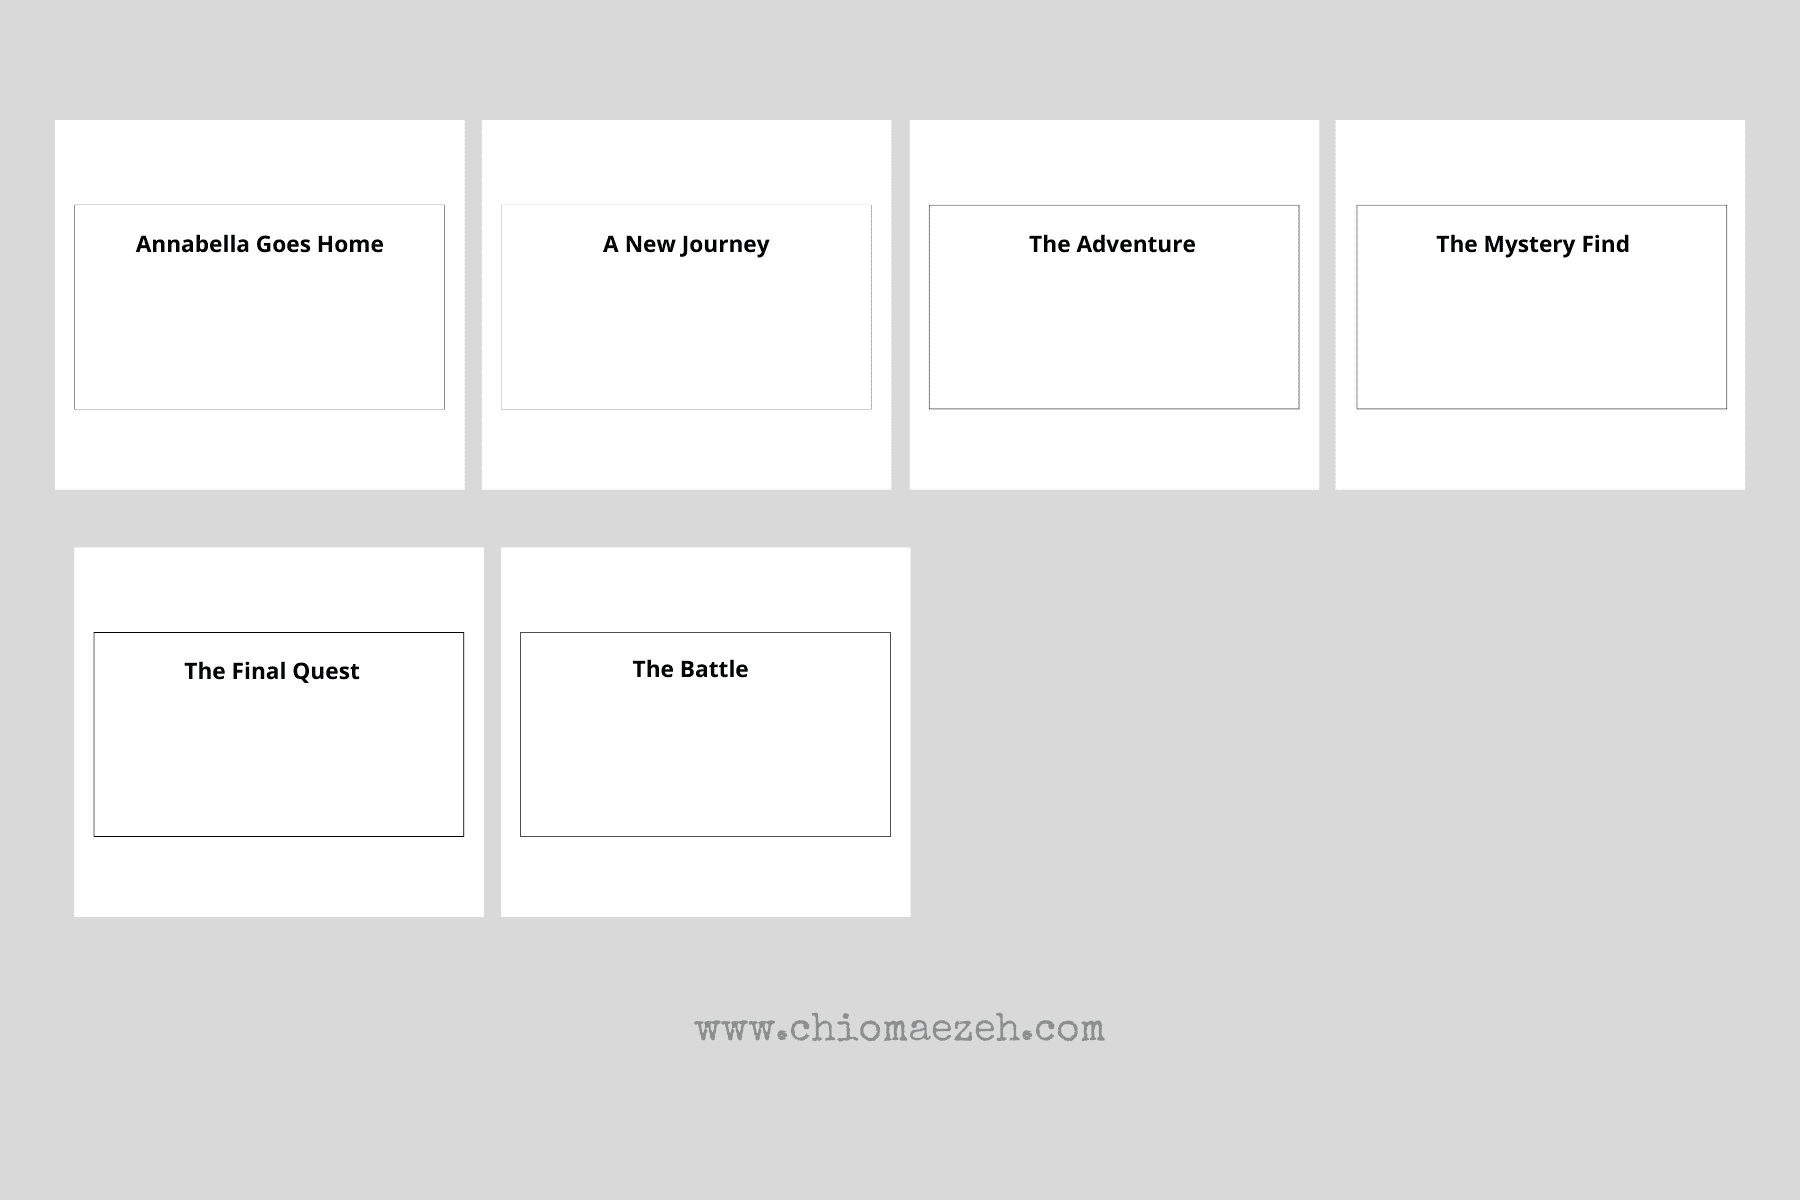
In Anabella’s story, for example, the chapters could be something like this:
Chapter 1 – Anabella embarks on her quest
Chapter 2 – Anabella discovers Relic
Chapter 3 – The Fierce Battle for The Relic
Chapter 4 – Anabella Goes on A New Adventure
3. Map out the key scenes.
All stories have defining moments, and the best way to capture them is by plotting out the main scenes. Do not worry about adding so many details as much yet.
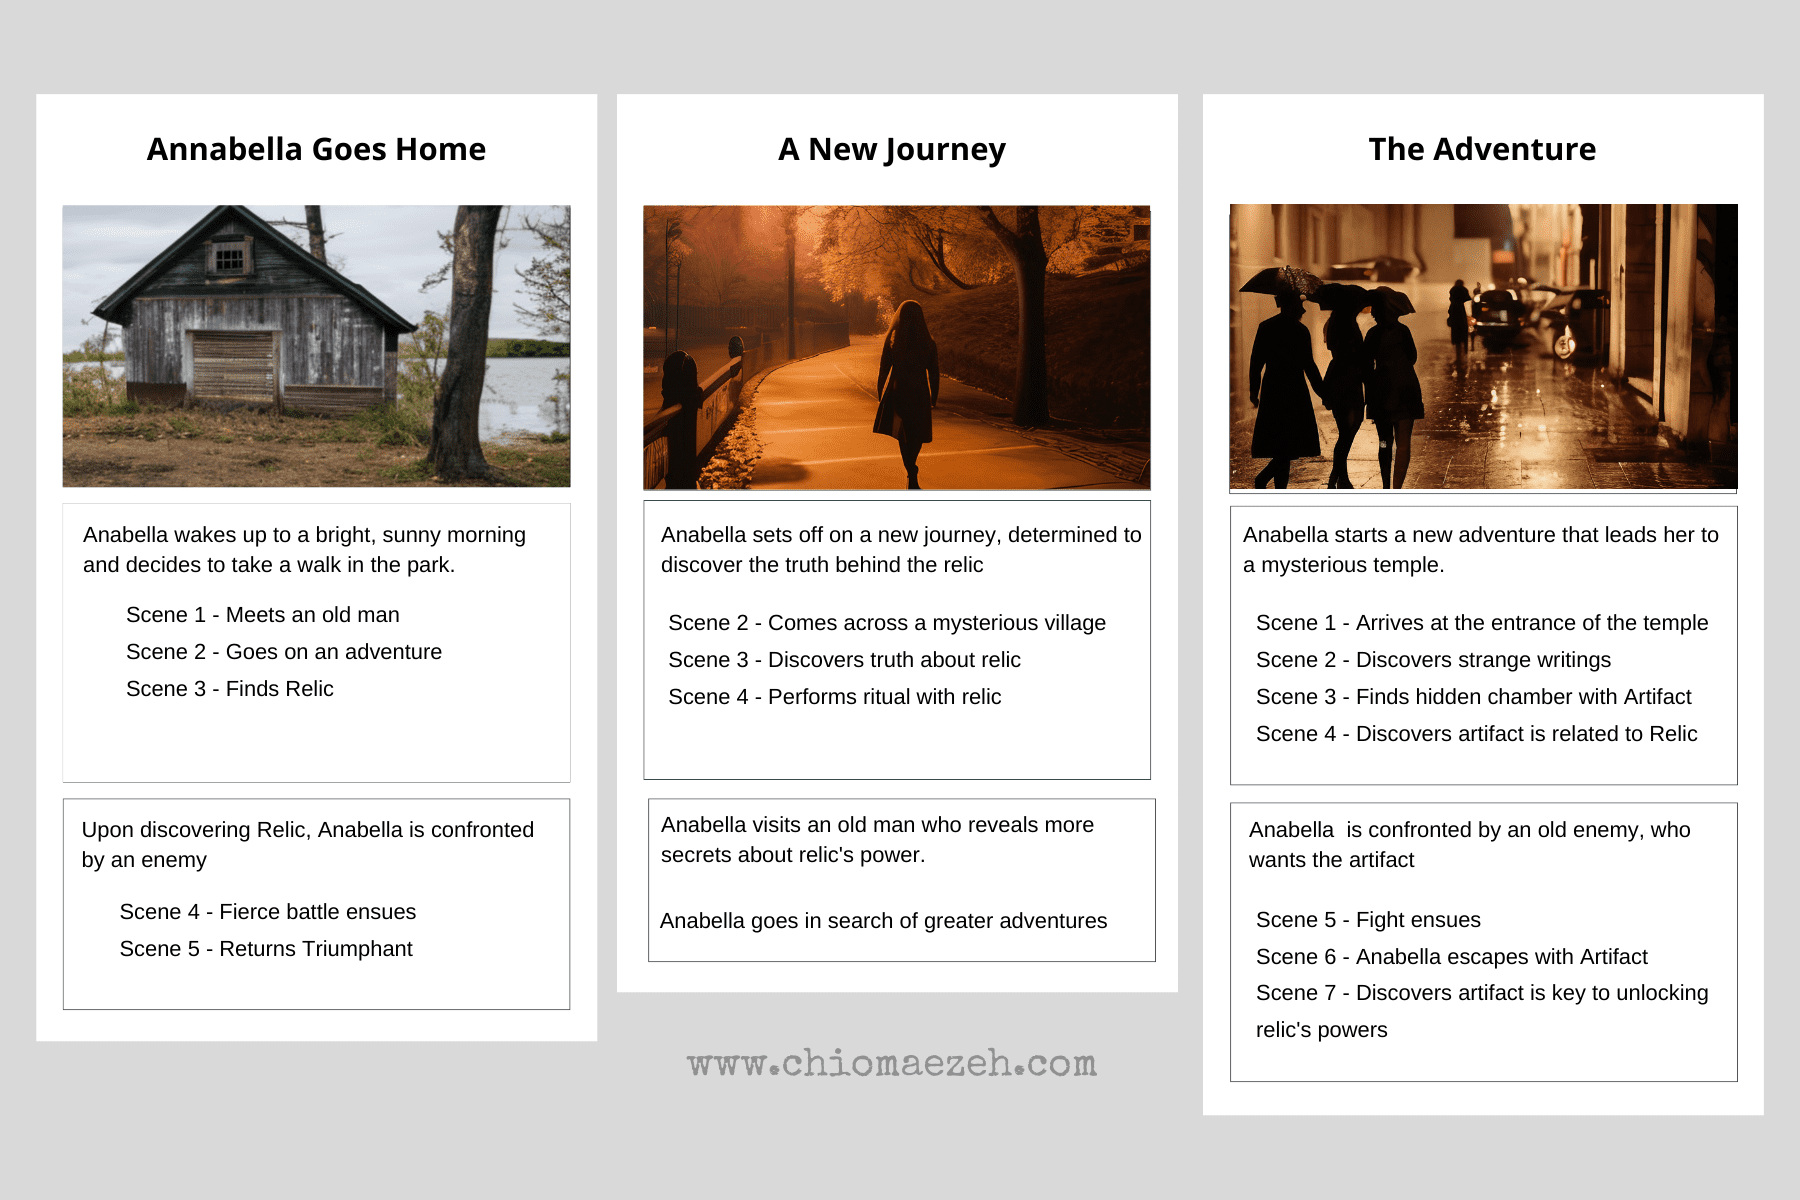
For example, you might have scenes such as:
- Anabella discovering the relic
- Anabella’s fight with the enemy
- Anabella helping those in need
- Anabella unlocking the relic’s power for a greater good.
For example, you might have scenes such as:
Chapter One: The Quest
- Scene I: Meets an old man
- The Setting: Anabella’s village
- Characters: Anabella, an old man
- Conflict: Anabella must convince the old man to tell her about the legend
- Goal: Introduce readers to Anabella’s quest
[a more detailed paragraph about each scene, including some lines of dialogue.]
- Scene II: Goes on an adventure
- The Setting: The forest
- Characters: Anabella
- Conflict: Anabella must brave the dangers of wild animals, hidden traps and other challenges
- Goal: Create a sense of mystery and adventure
- Scene III: Finds Relic
- The Setting: The Forest and an old cave
- Characters: Anabella, a fierce enemy
- Conflict: Anabella battles a fierce enemy for the relic
- Goal: Showcase Anabella’s bravery and determination in the face of danger.
- Scene IV: The Battle
- The Setting: Inside the cave
- Characters: Anabella, a fierce enemy
- Conflict: Annabella must fight off the enemy to take possession of the relic
- Goal: Reach the climax and resolution of chapter one
- Scene V: Returns Triumphant
- The Setting: Back in Anabella’s village
- Characters: Anabella, the villagers
- Plot point: Anabella has emerged triumphant with her prize in hand
- Goal I: Showcase how Anabella has grown and changed as a character and her determination to use the relic for good.
- Goal II: Resolve the climax of chapter one and set up for future adventures
Just try to focus on key events that will move your story forward. And they don’t have to be in order either. This is a very simplified approach that works all the time.
You should also try to identify and add potential obstacles. Every hero needs an obstacle to overcome before achieving the goal. It could be a personal struggle, external forces such as villains, or anything else that stands in the way of success.
In Anabella’s story, her obstacles might include:
- Navigating through dangerous terrain to reach the relic
- Battling a fierce enemy for control of the relic
- Learning how to use the relic’s power for good
After you’ve finished mapping your scenes, take a look at it and make sure that everything has been captured correctly.
This is the time to add, remove, or rearrange scenes if needed. You can also make notes on how you want each scene to play out, but don’t dive too deep into details just yet.
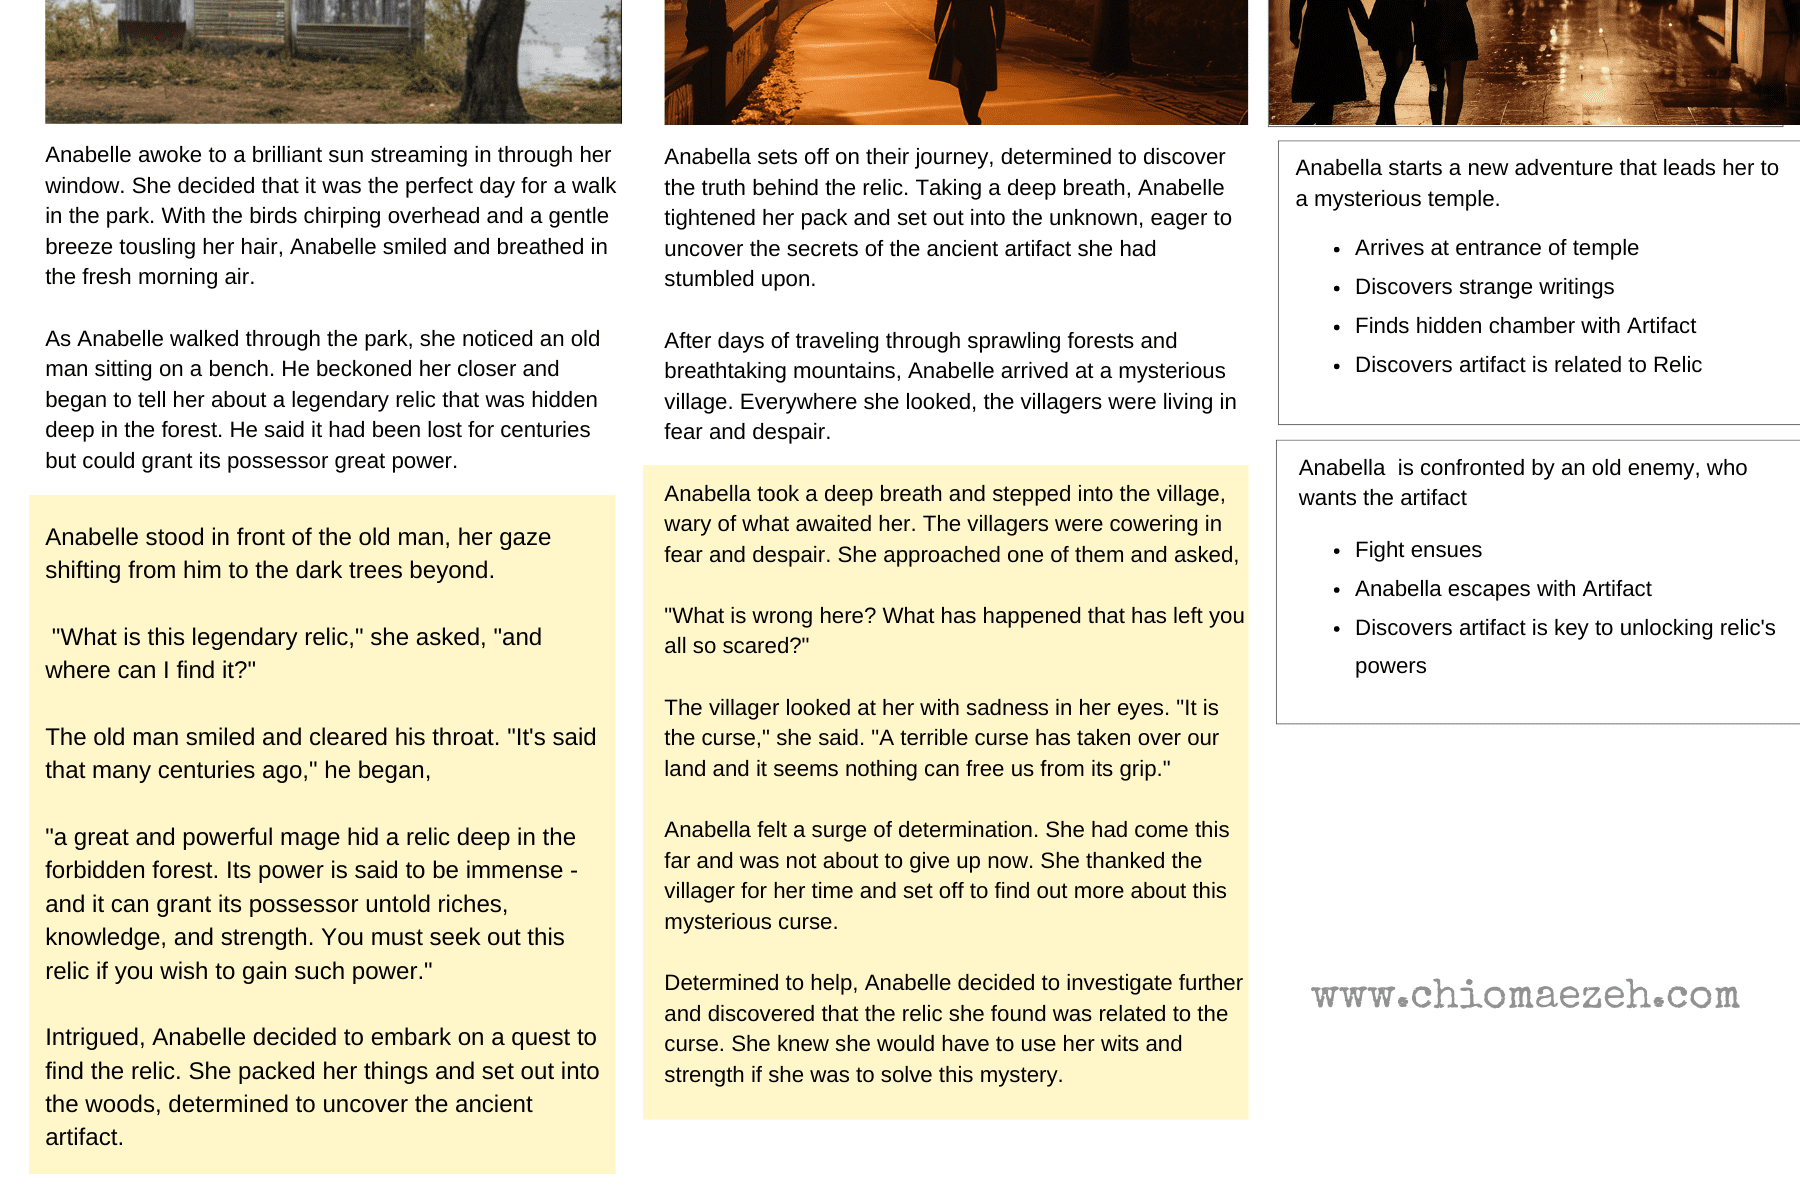
4. Fill in the details.
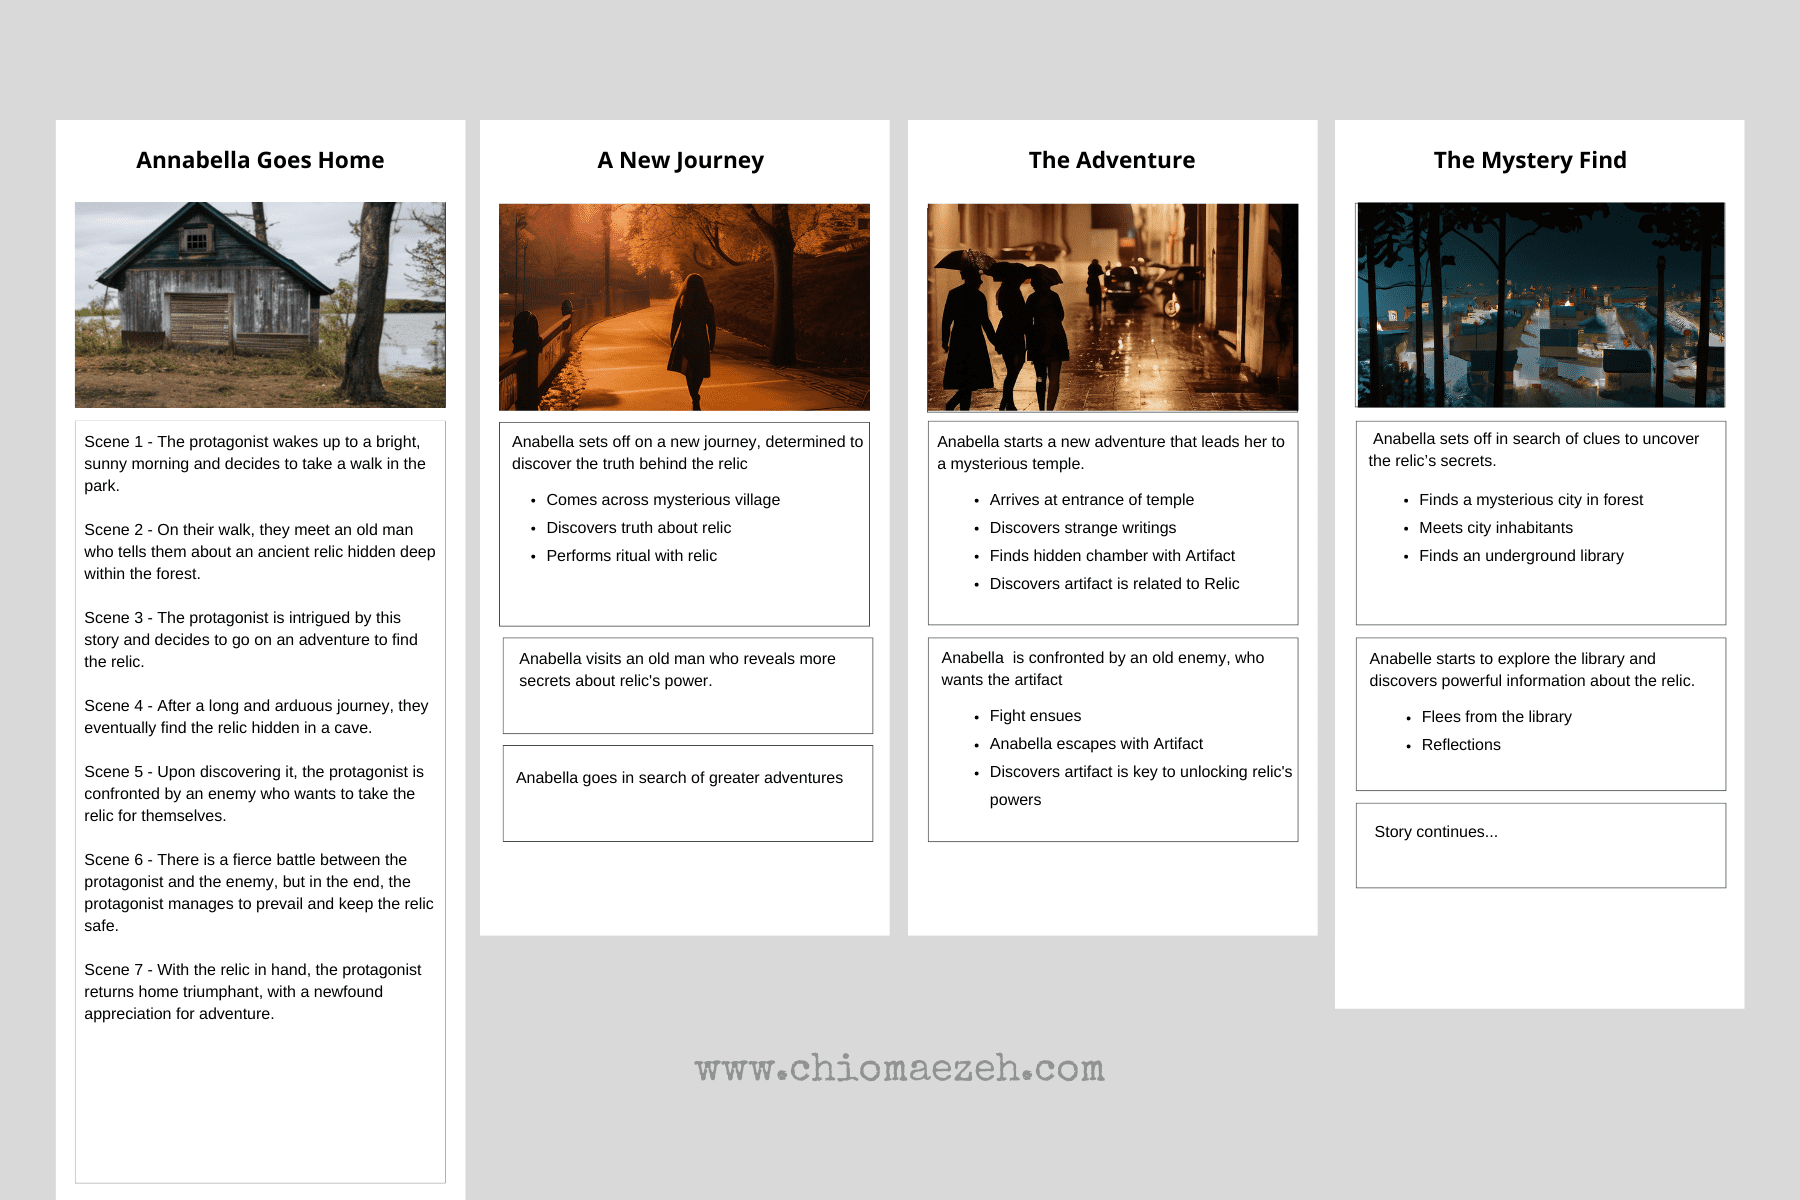
Once you’ve got a few scenes sketched out, fill in an outline with all of the details that need to happen between each scene.
Include dialogue, descriptions, and other details to help bring the story to life. You can even use dialogue to help reveal character traits. For example, when Anabella faces off against her enemy, you could add in a bit of dialogue to better showcase her courage and strength.
“I won’t back down,” Anabella said defiantly. “You’ll regret ever coming here for this relic.”
Dialogues help to really make scenes come alive and give readers a better understanding of the characters’ traits.

That said, think of scene building as the “flesh on the bones” that will ultimately become your story. This can be as detailed or as simple as you need it to be. Being detailed, however, can help you visualize the story better and understand how each scene builds upon the last.
Writing from the bones and adding details as you go along can also help the story feel organic and alive. This method is referred to as the Snowflake method. The snowflake method starts with a broad overview of the story, and then adds more detail as each scene is written.
As you’re filling in the details, think about how each event will move the story forward and keep your characters on track to reach their ultimate goal.
Anabella’s journey might include details such as:
- Talking with locals for clues to the relic’s location
- Exploring old ruins for a secret entrance
- Outsmarting the enemy to get control of the relic
- Learning how to use its power for good
- Reuniting with her friends and sharing her success.
Once you’ve finished adding the details, review it one more time. Make sure that all of the pieces are in place and that your characters’ arcs make sense.
5. Create Transitions.
Now you can start connecting all of the pieces together. Create transitions between scenes to make sure that the story flows and makes sense. This is where you can get creative with your storytelling and use plot twists, flashbacks, or other techniques to keep readers engaged. If possible, you can flesh them out with more details.
Think about how your story’s events, characters’ reactions, and decisions, as well as any potential conflicts, will help move your story forward. These transitions between scenes will help ensure that your story arc is consistent and logical. And it will help keep track of where your story is going next.
In Anabella’s story, the transition from her finding the relic to fighting for it could involve a powerful monologue where she reflects on why this relic is so important and what she needs to do.
By taking the time to plan out your transitions, you’ll be able to bring your story together into something that is greater than the sum of its parts.
6. Add Images (Optional).
Although this is an optional step, it can be helpful to add images and/or sketches of your characters or the world in which your story takes place.
This will help you visualize the story and make sure that everything makes sense. Besides, images can also help you come up with new ideas for your story that might have never occurred to you.
I always like to use images as I’m a visual kind of writer. I also find that it’s great for worldbuilding. It helps me keep track of my characters, motivations, and backstories.
7. Write your story.
Once you’ve got all the pieces in place, it’s time to write the first draft of your story. Start with your opening scene and start crafting your story. Keep focusing on the key scenes and transitions that you outlined earlier as a guide for what needs to happen next.
This will give you a structure to work with and help keep your story focused. It will also ensure that you don’t get stuck on any particular scene or plot point.
As you write, don’t be afraid to make changes if something isn’t working. You can always go back and edit later. The important thing is to keep going until you complete your story.
Bonus: Use Software to Outline Your Story.
If you want an even easier way to visualize your story, there are plenty of great software programs that can help. For example, Plottr and Scrivener both offer templates for outlining and keeping track of events in a story.
These tools will provide a ready-made structure that you can use to quickly layout your story and get a better sense of what needs to happen next. They also make it easy to move parts of your story around if you need to make changes later.
So, if you’re feeling a bit overwhelmed with the task of outlining your story, these tools can definitely help.
Additional Tips For Outlining A Story
Here are some additional tips to help you outline a story effectively:
1. Start with a broad idea or concept. This will serve as the foundation of your story, so be sure to take the time to come up with something that is engaging and compelling.
2. Flesh out your characters, plot, and setting. Start by creating a summary of the story that includes these elements in as much detail as possible.
3. Develop your theme or message. What is the purpose of your story? Are there any core themes or messages that you want to convey?
4. Break down the story into smaller parts. Outlining can be overwhelming, so break down the process into manageable chunks.
5. Revisit and refine your outline as needed. As you work on your story, revisit your outline and make tweaks as necessary to ensure that everything is cohesive and connected.
6. Ask for feedback from others. Having an outside perspective can be helpful in catching any potential issues before you move forward with the story.
7. Don’t overthink it. Outlining is meant to be a creative exercise, so don’t get too stuck on perfection; just have fun and let your imagination run wild.
FAQs on Story Outline
What Is The Purpose Of Outlining A Story?
Outlining a story helps writers organize their thoughts and ideas into a cohesive narrative. It allows writers to see the big picture and make sure that all elements of their story are connected in a meaningful way. By outlining, writers can create clear plot points, characters, and themes that will drive the story forward.
What Should Be Included In An Outline?
An outline should include all of the major plot points, characters, and themes in a story. Depending on the type of story, it may also be helpful to include subplots, settings, and other elements that will contribute to the narrative. The outline should provide an overall structure for how the story will unfold.
How Long Does It Take To Outline A Story?
The amount of time it takes to outline a story will vary depending on the complexity of the narrative. Generally speaking, it should not take more than an hour or two for most stories. For longer stories, it may be necessary to break down the outlining process into several smaller steps.
How Detailed Should An Outline Be?
An outline should be as detailed as necessary to provide a strong foundation for the story. This could include character bios, scene descriptions, and other details. However, it is important not to get too bogged down in the details at this stage; instead, focus on the main plot points and themes that will drive the story.
Final Notes On How to Write a Story Outline
Now that you’ve learned how to write a story outline, you should be able to create an effective outline for your story. Outlining can seem daunting at first, but with a clear plan of attack and some practice, you will quickly become an outlining pro.
Recommended Reading:
- How to Write A Story In 9 Steps [With Examples & Pictures]
- Writing The First Draft Of A Book: 12 Tips For A Quick Process
- How To Outline A Book: 6 Simple Steps with Templates & Examples
- Outlining In Writing: 6 Easy Steps For Success [With Formats]
- How to Overcome Writer’s Block: 7+ Tips That Work [Exercises]
- How To Find Your Writing Voice (Expert Tips For Signature Style)
![9 Elements of Setting [And Why You Need To Use Them]](https://chiomaezeh.com/wp-content/uploads/2023/02/elements-of-setting-768x512.jpg)
![What Is Third Person Point of View? [Definition & Examples]](https://chiomaezeh.com/wp-content/uploads/2023/03/third-person-point-of-view-1-768x512.jpg)

![What Is Introduction In A Story? [Explained]](https://chiomaezeh.com/wp-content/uploads/2023/02/introduction-in-a-story-1-768x512.jpg)